
Drip System Installation Tips for Do-it-Yourselfers!
by Stuart Spaulding —
CLIA Certified Landscape Irrigation Auditor Training & Communications Manager at DIG Corp.
 1. Optimize Your Microtubing: A Sunlit Solution for Easy Installation
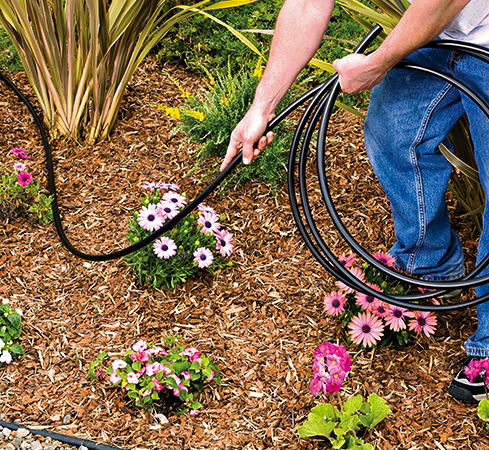
Uncoil and lay down the ½” and the ¼” microtubing on the ground or pavement in direct sunlight and leave it there for 30 to 60 minutes. Secure it to the ground in a straight line and the heat will help reduce the tubing tendency to re-coil; this will make it easier to cut the tubing & install the fittings.
Drip Irrigation Tubing
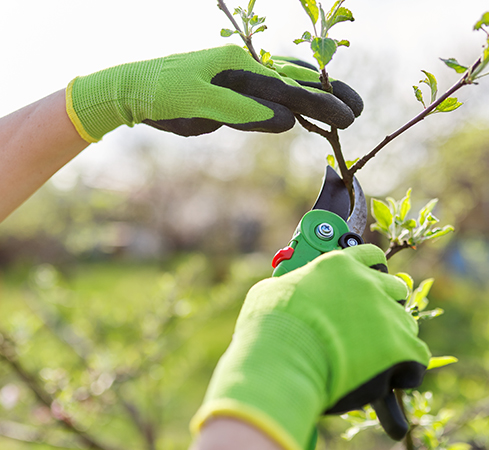
 2. Essential Tools for Drip System Installation
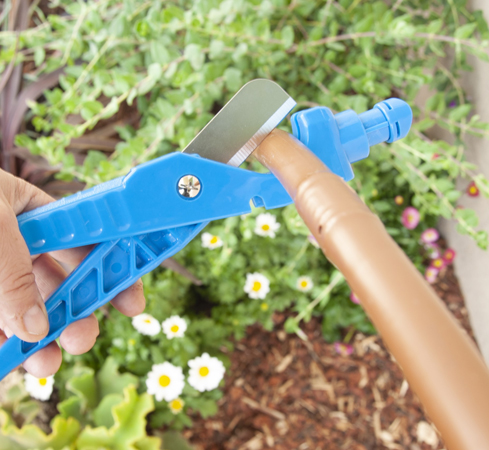
Make sure you have a sharp, strong tubing cutter, utility shears or pruner to cut the tubing, or better yet, a multi-function drip punch/cutter tool, these tools speed up and simplify the installation of the system.
Tubing Cutter, Punch & Insertion Tool
 3. Optimizing Dripper Placement for Efficient Irrigation
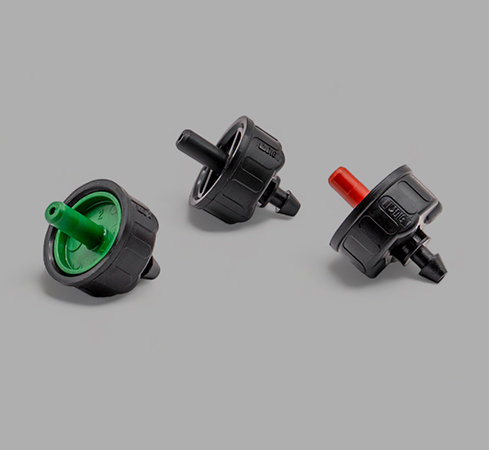
Install as many drippers as possible directly into the side of the ½” poly tubing. Coil it around trees and large shrubs that will need several drippers. Use ½” TEEs to branch off to adjacent areas. Install ¼” microtubing only where necessary, like extending a dripper away from the ½” or up into a container.
Drip Emitters
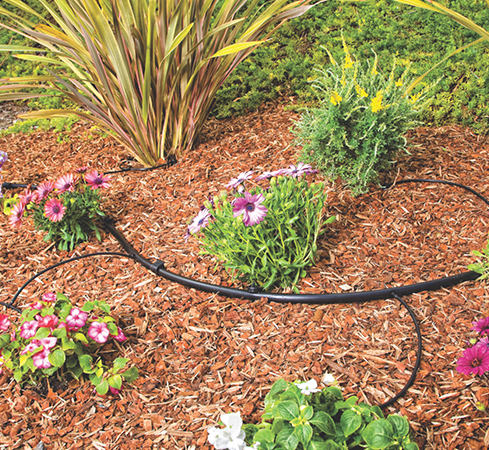
 4. ¼” Dripline for Lush Landscapes
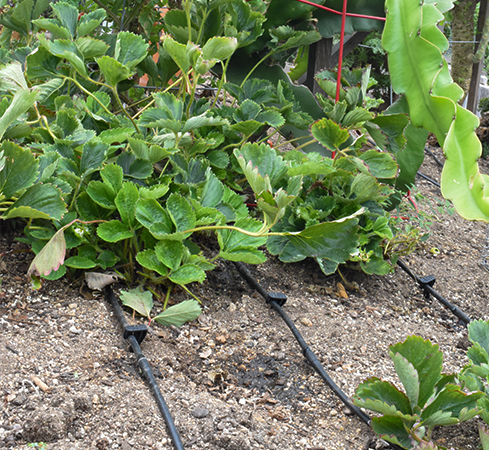
Use ¼” Dripline for thorough soil saturation in trees, vegetable gardens, and flowerbeds.
Dripline & Soaker Hose
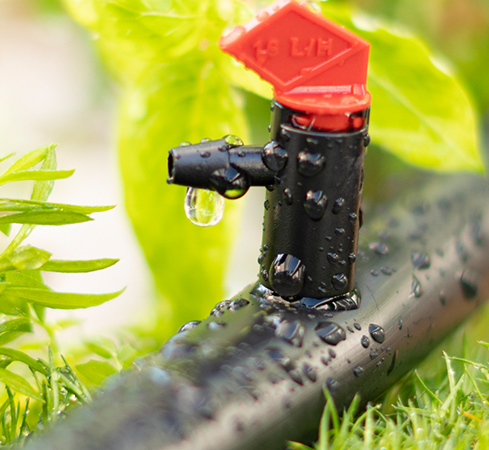
 5. Clean Irrigation Lines in Your Drip System
Leave the ends of the ½” poly tubing open during installation and when finished open the system valve for a few minutes and flush out any soil or particles that may be in the tubing. After the water runs clear, close the ends off one at a time.
Hose End Closure
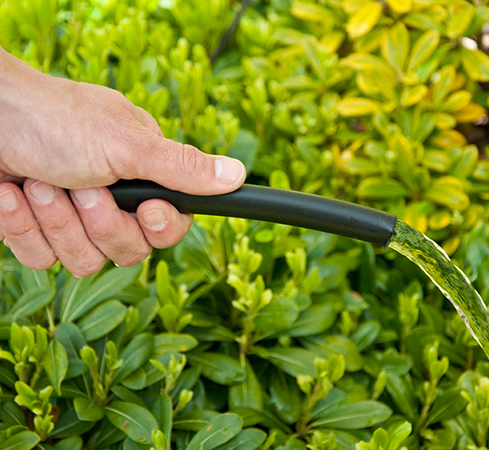
6. Anti-Slip Gloves for Drip System Installation
Wear a pair of high quality, anti-slip gloves; this will help you get a good grip on the tools, tubing, and fittings.
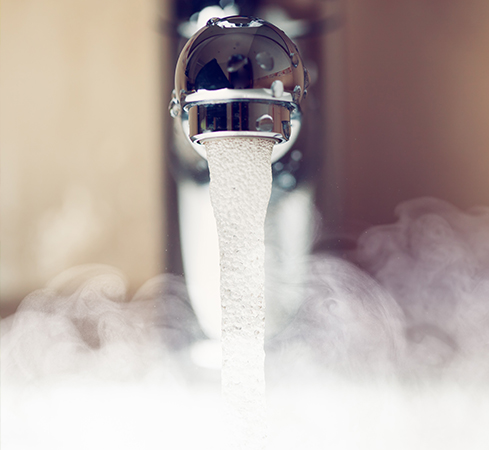
7. Hot Water Soaking on Chilly Days
On cold/cloudy days, it may help to soak the end of the tubing in a cup of hot tap water for about 20 seconds, this will warm up the tubing end and make it easier to install the fittings.
8. Curved Installation of ½” Poly Tubing
When installing long straight runs of ½” poly tubing, lay the tubing down with gentle curves to allow for expansion and contraction due to temperature changes.
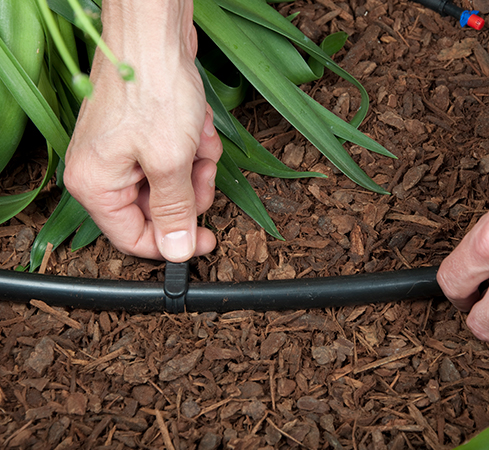 9. Securing Poly Tubing
The last step is to secure the poly tubing to the soil with stakes, but only after pressurizing the system and checking for leaks and irrigation coverage.
Stakes
 10. Keeping Micro-Sprayers at a Safe Distance
Avoid Installing Micro-Sprayers Within 18 Inches of Shrubs to Prevent Potential Spray Blockage by Foliage.
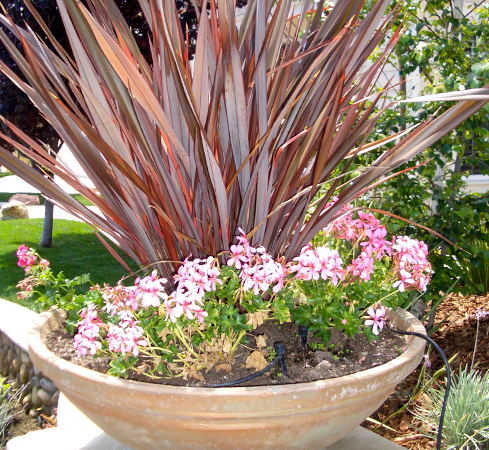 11. Optimize Irrigation with Dedicated Systems for Potted Plants
Establish Separate Systems for Container Plants, Adjusting for Their Unique Watering Needs Compared to Ground-Planted Flora.
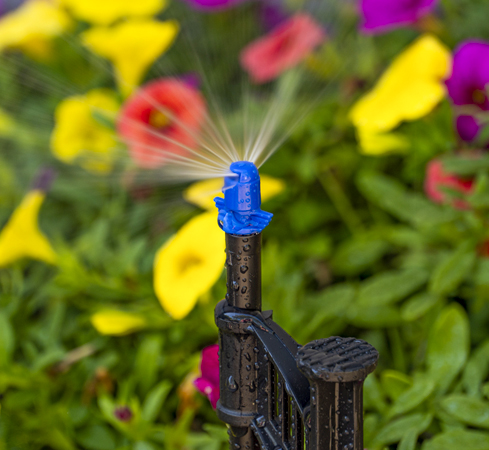
12. Mixing Jet-Sprayers and Micro Sprayers with Drip Emitters
It’s OK to install jet-sprayers & micro sprayers on the same system with drip emitters.
Micro Sprayers
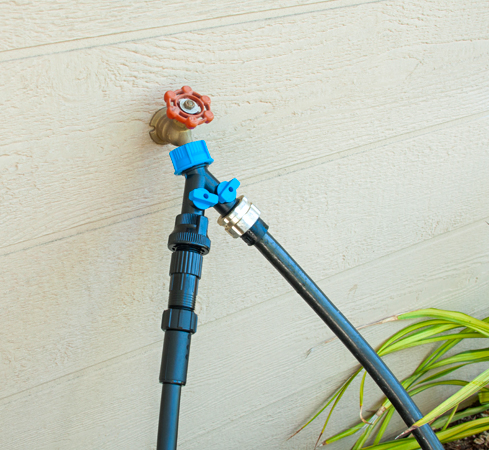 13. Faucet-Based Systems
For systems that start from a faucet, total system flow rate should not exceed 220 GPH (gallons per hour), and total ½” tubing lengths should not exceed 400 feet.