12-Outlet Drip Manifolds
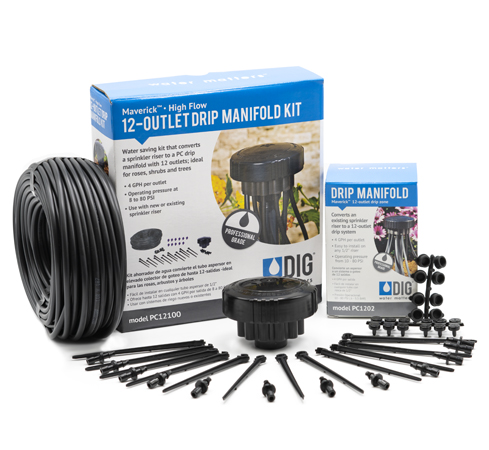
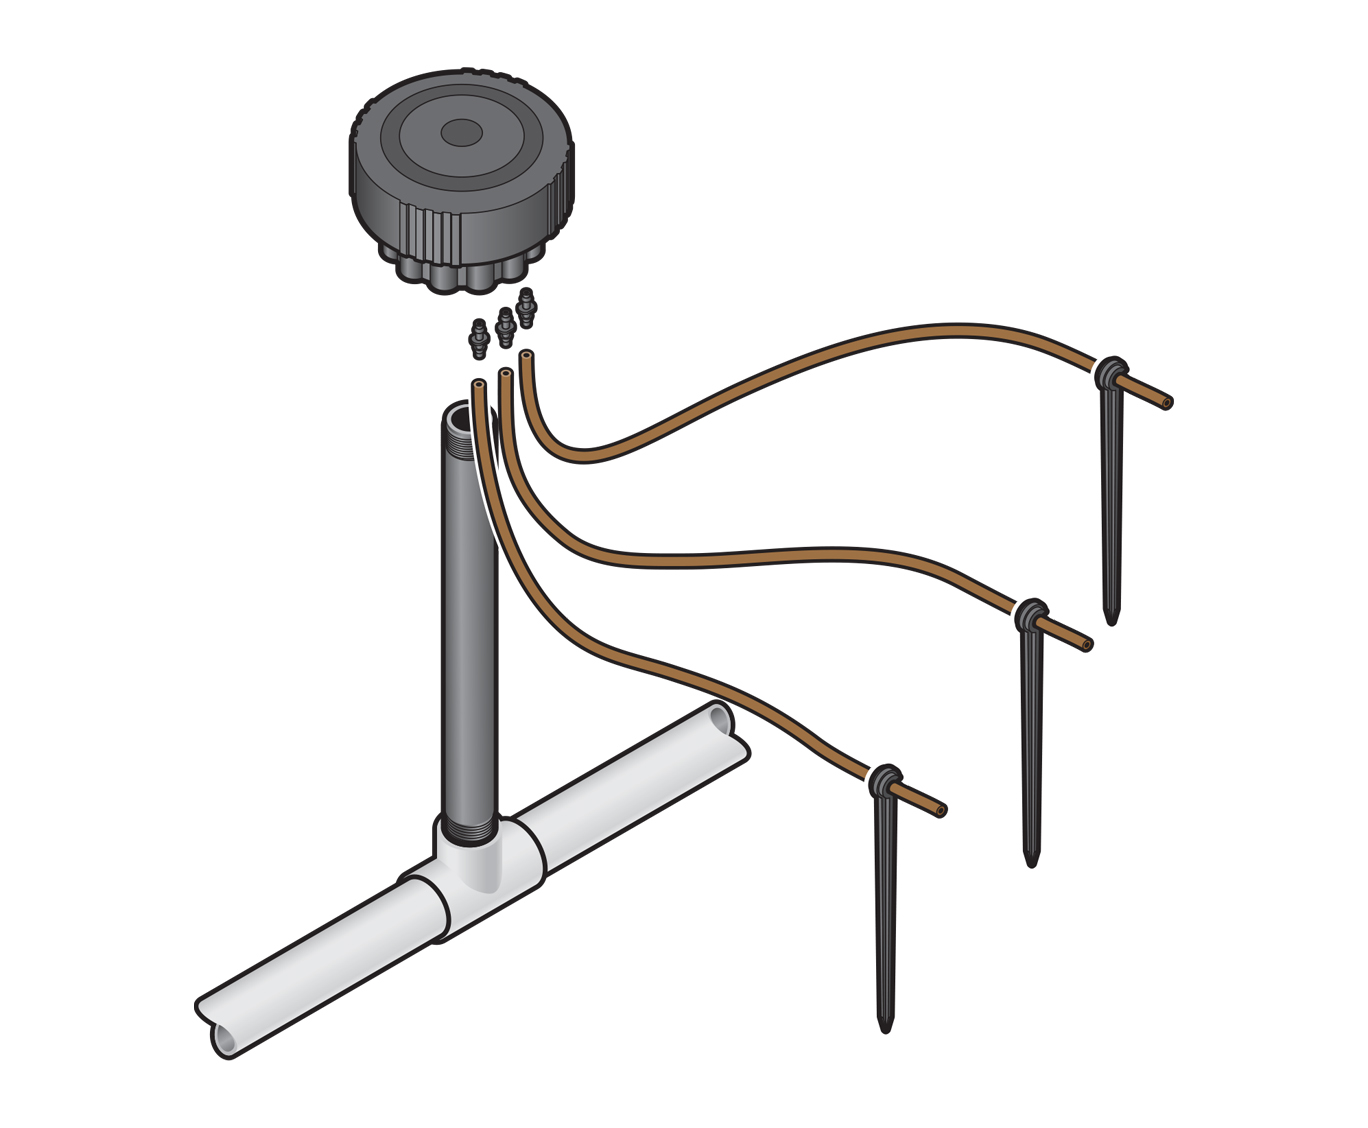
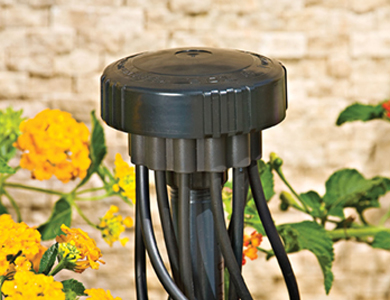
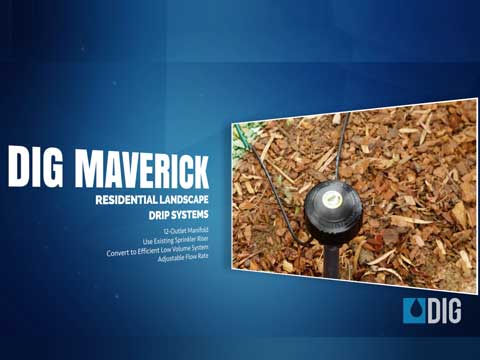
The DIG Maverick™ 12-Outlet Drip Manifold seamlessly retrofits a 1/2” sprinkler riser into a 12-outlet drip irrigation system while preserving the original flow dynamics of the sprinkler system zone. Offering unmatched installation flexibility, Maverick™ 12-Outlet Drip Kits are ideal for new systems featuring numerous 12-outlet manifolds on each line. These kits feature precise 2 GPH pressure-compensating drip emitters, ensuring consistent flow from each outlet across a wide operating pressure range of 10 to 80 PSI. Each kit includes a 12-outlet manifold with ½” FPT, twelve 2-GPH PC drip emitters, twelve stakes, eight caps, twelve bug plugs, and twelve color-coded converter barbs for seamless conversion of 1/8” outlets to 1/4” outlets compatible with 1/4” micro tubing. Additionally, the PC12100 variant includes 100 feet of 1/8” micro tubing, while the AP12-2 variant comes with 12 1/4” converter barbs, 12 V-stakes, and 8 caps for closing off unused outlets.
Features
- Replacing the sprinkler riser with the 12-outlet manifold can lead to water savings of 50% to 70%
- Constructed with 12 individual, interchangeable pressure compensating drip emitters
- The self-flushing drip emitters utilize a floating silicon diaphragm that allows passage of small particles which otherwise could clog the drip emitter water passages
- Each drip emitter has a built-in filter
- Unused outlets may be plugged so that a minimum of 4 of the outlets to a maximum of 12 can operate at once
- Built with backup disc filter™ for easy cleaning
- Color-coded removable nozzles for easy replacement and for flow rate identification
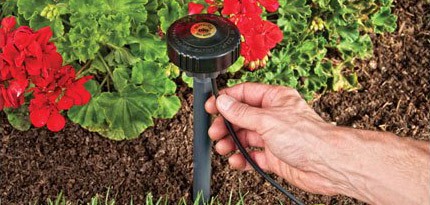
- Can be used to water roses, shrubs, groundcover and trees
- Complete kit; all parts included
- Applies water directly to the plant root zone area, leading to less surface evaporation from leaves and soil
- Eliminates wet walls and discoloration and staining of fences and windows
- Designed for new and existing landscapes, including oddly shaped areas where a sprinkler head cannot provide good coverage
- No special tools or glue are needed
- DIG’s drip irrigation products may be exempt from residential and commercial watering restrictions (check local codes)
- Barbed elbow outlets allow installation flexibility
- Pressure compensating feature allows for equal flow rates from each outlet
- Install above grade, or place below grade in a 6″ emitter box
- Use with 1/8” and any ID 1/4” micro tubing
How to Order
| MODEL | DESCRIPTION |
|---|---|
| PC12100 | 12-Outlet Drip Irrigation Manifold High Flow Kit (12) Converter barbs, (8) zone caps, (12) bug plugs, (12) tubing holder stakes, 100 ft. of 1/8 in. micro tubing |
| PC1202 | 12-Outlet Drip Irrigation Manifold High Flow Kit (12) Converter barbs, (8) zone caps, (12) bug plugs, (12) tubing holder stakes |
| AP12-2 | 12-Outlet PC drip manifold with 2 GPH per outlet (12) 1/4" converter barbs, (12) V-Stakes, (8) caps to close off unused outlets |
Specifications
- Operating pressure: 10 to 80 PSI
- Recommended operating pressure: 10 to 60 PSI
- Flow rates:
- Total flow rate per manifold: 48 GPH (0.8 GPM)
- Temperature range: up to 122°F (50°C)
- Inlet size: 1/2” with female pipe thread (FNPT)
- 12 outlets for use with 1/8” micro tubing with .187 OD or for 1/4” micro tubing with .140 to .170 ID utilizing the 1/4” converter barb included in each kit
- Materials:
Box Contents
| description | PC14100 | PC1204 |
|---|---|---|
| Maverick 12-outlet drip manifold with 4 GPH per zone | 1 | 1 |
| plugs to close any unused zones | 8 | 8 |
| converter barbs for 1/4" micro tubing | 12 | 12 |
| bug plugs for 1/8" micro tubing | 12 | 12 |
| tubing holder stakes | 12 | 12 |
| 100' of 1/8" micro tubing | 1 | n/a |
| instruction manual | 1 | 1 |
Manuals
 English
  Spanish
 Videos
-
DIG drip irrigation system installation - connecting a Maverick 12 outlet manifold
About
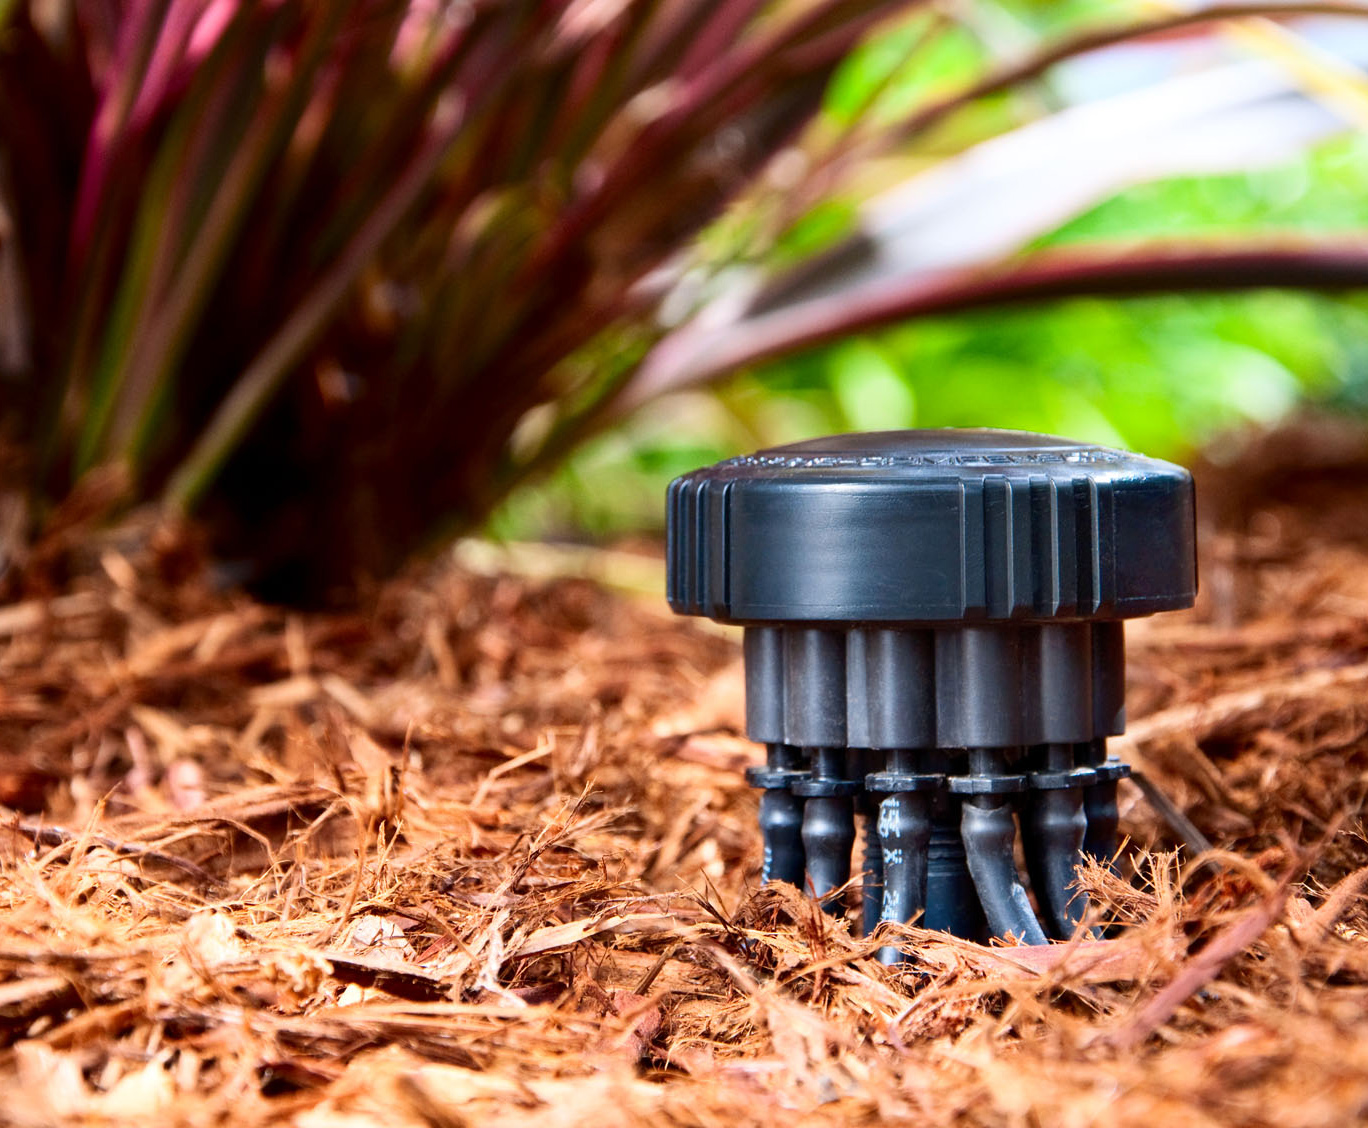
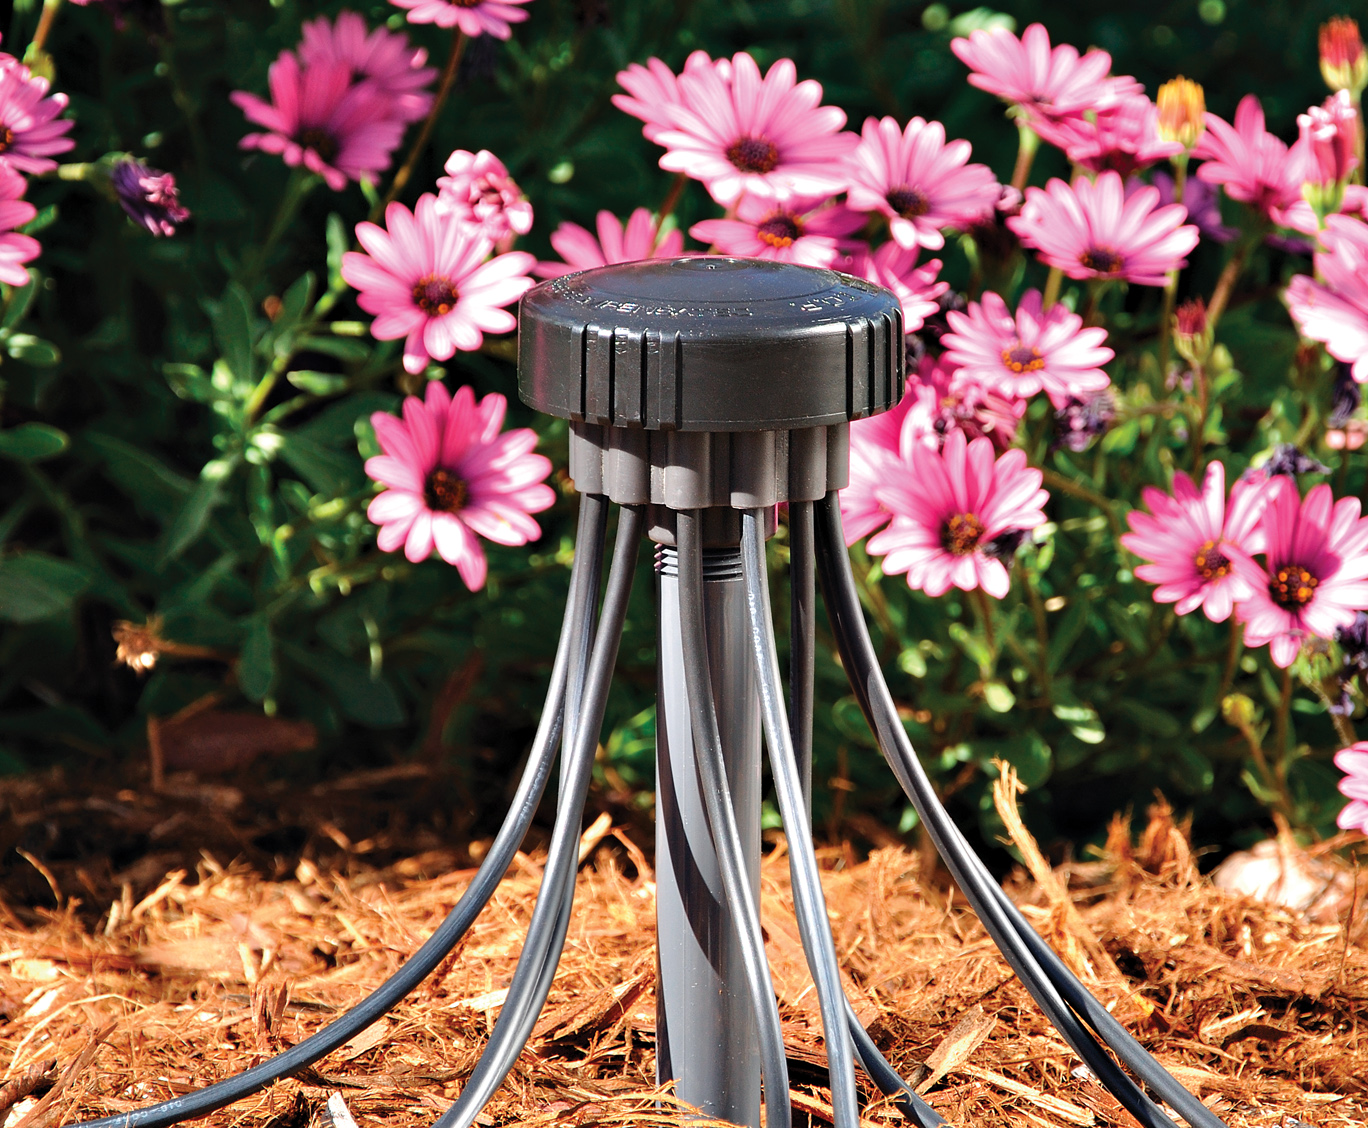
The Maverick™ 12-Outlet Drip Irrigation Kits can be used on new or existing installations to convert a sprinkler riser into a drip system, applying 50% to 70% less water than a conventional sprinkler system. The Maverick’s™ high flow drip irrigation outlets are used to apply water at the root zone area of the plant only, reducing pest problems, weed growth and water waste from evaporation and run off. The two kits, recommended for watering individual shrubs or roses, contain a manifold with 12, 2-GPH pressure compensating drip emitters for even uniformity from each outlet, 12 stakes to secure the micro tubing to the ground, 8 caps to close unused outlets and 12 bug plugs to close the end of the 1/8” micro tubing. Additionally, each kit has 12 converter barbs to convert each outlet from the use of 1/8” micro tubing to 1/4” micro tubing with the PC12100 also having 100’ of 1/8” micro tubing to complete the layout. The 12-outlet manifold can be used to cover individual plants or closely spaced groups of plants within the layout.
The 12-outlet drip irrigation kit applies water utilizing the same short range watering cycles as spray heads to meet most watering applications. Using drip irrigation, water first thing in the morning before the temperatures begin to rise. This will allow excess moisture on leaves and top soil to dry before fungal and other diseases can develop. The most common cause of early plant death is over watering. Using drip irrigation can help sustain healthy plants by applying water directly to the plant root zone when and where it is needed. For established plantings, deep, infrequent watering is recommended. In most cases applying deep watering will encourage deeper rooting, which leads to stronger, healthier plants.
Installation Steps
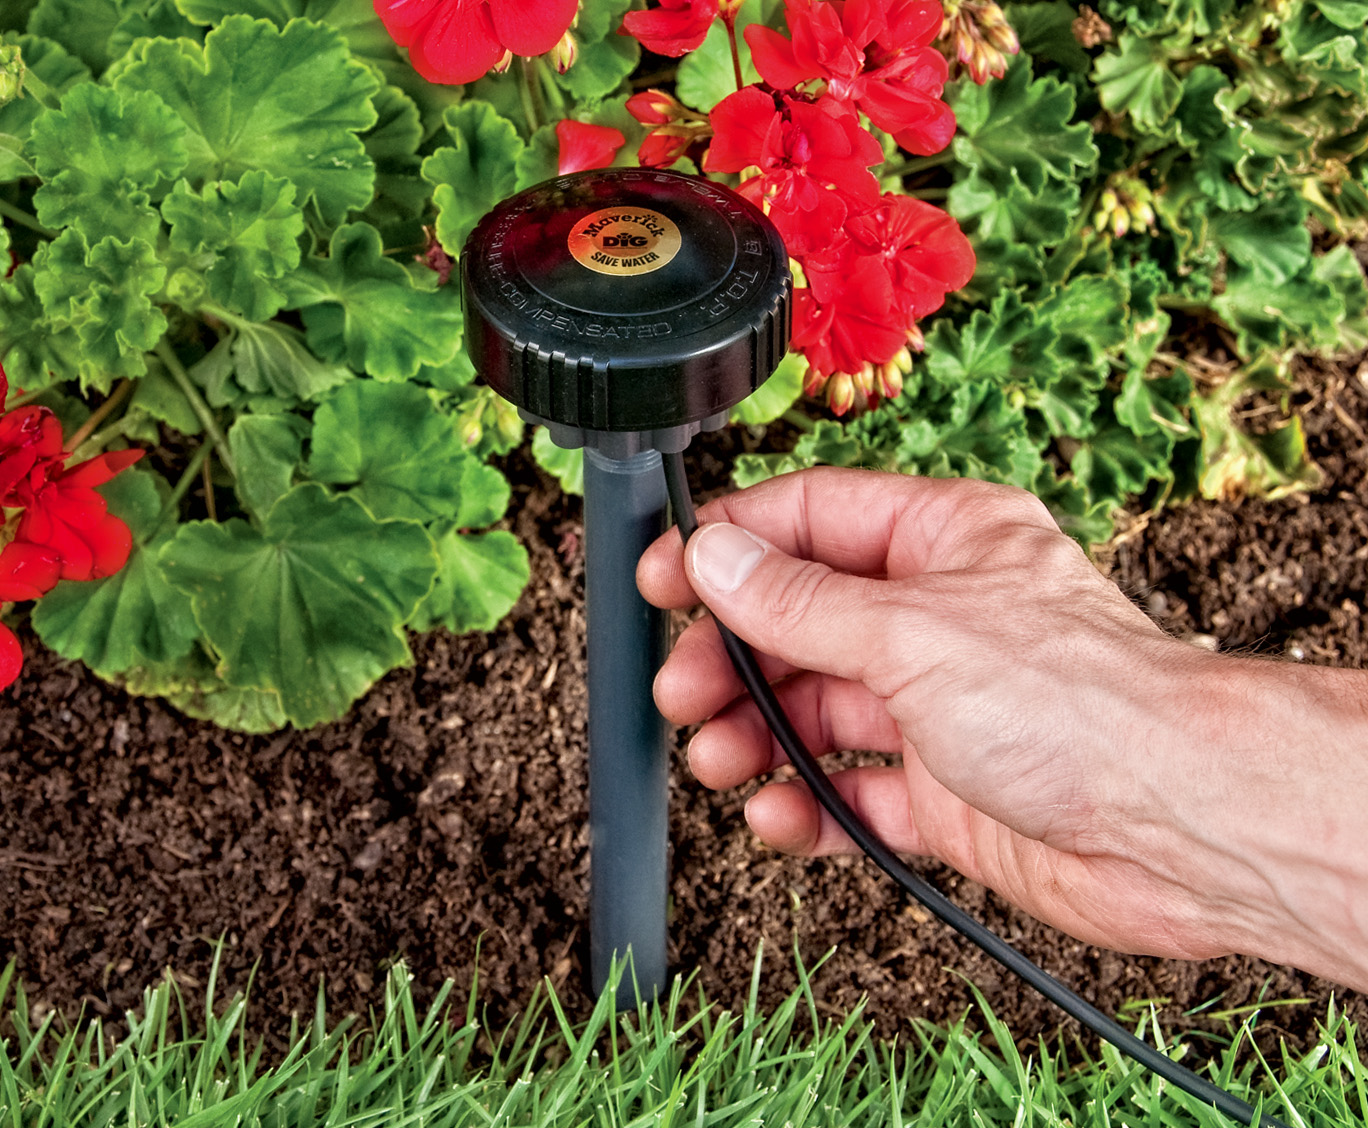
 Remove your existing sprinkler from the riser.
 Screw on the Maverick™ drip manifold.
 Attach micro tubing to the Maverick™ .
 Run pieces of micro tubing to your plants and secure with tubing stakes.
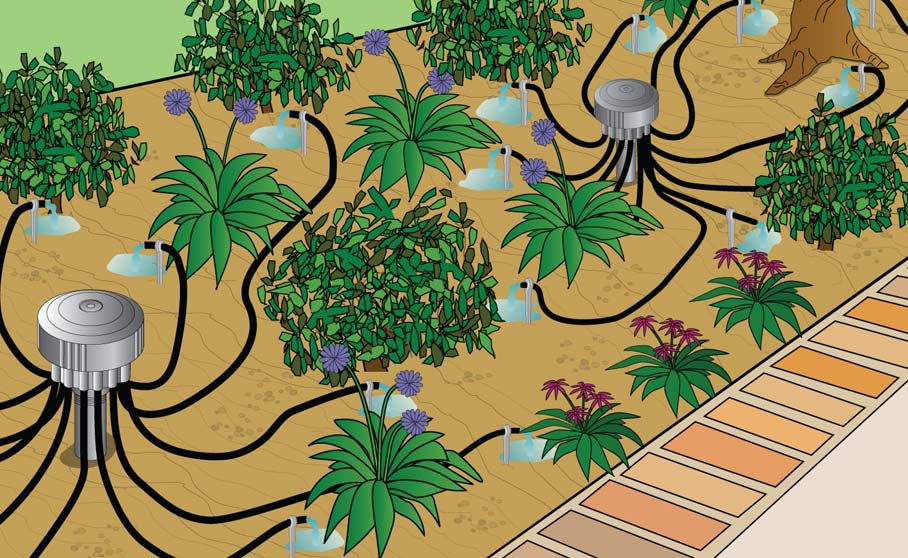
Example layout:
Installation suggestions
The Maverick™ 12-Outlet Drip Irrigation Kits are designed to convert a 1/2″ sprinkler riser into a drip irrigation system. The 12-outlet drip irrigation manifold may be incorporated into a new system, or used to convert an existing sprinkler riser to a multi-outlet drip irrigation system. Retrofitting a conventional sprinkler riser to a water-saving drip irrigation system requires a few simple steps including evaluation of the areas to be watered and selection of the best method to water. The most suitable uses for a multi-outlet drip irrigation manifold include watering shrubs, trees, roses, pots or individual plants that can be irrigated more efficiently using a drip irrigation system.
- First, we recommend using the 12-outlet drip irrigation manifold in an area where the plants are close to the sprinkler riser you are replacing. We also recommend using short lengths of micro tubing, not exceeding six to eight feet from the riser, to allow for easy maintenance.
- Make sure that the output of the manifold is sufficient to cover the plants in the area close to the sprinkler riser. Our suggestion is to use a minimum of two outlets per plant.
- Remove the sprinkler from the riser.
- Turn the water on to flush the line. Then shut off the water and thread the multi-outlet manifold onto the riser. This option will allow for a flow of 2 GPH from each outlet used.
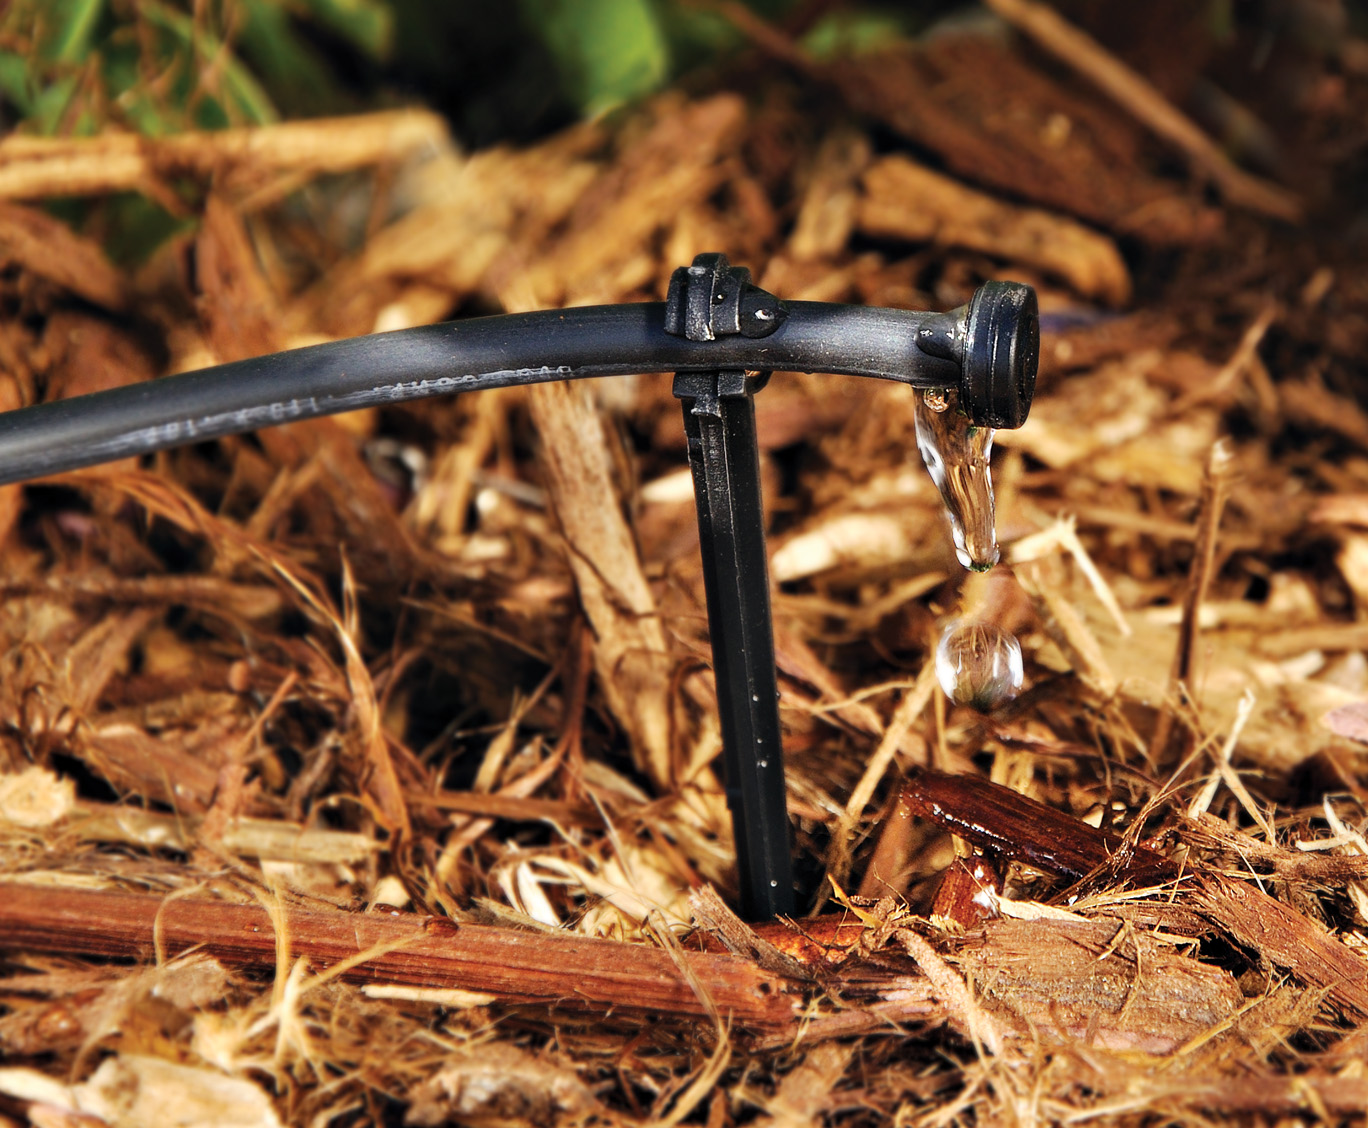
- Remove the manifold cover and remove the mini disc filter. The 12 outlets with the 2 GPH nozzles can be seen. Make sure that the entry to the nozzles is kept clean.
- From the manifold outlets, extend two measured lengths of 1/8” micro tubing to each plant selected to have a drip irrigation outlet.
- Secure the end of the micro tubing with the stake included in the kit, and to the end of the micro tubing, insert the bug plug to protect the outlet from bugs. The bug plug is also included in the kit.
- If used with 1/4” micro tubing, insert a 1/4” converter barb into one of the 12 outlet ports by pressing the round part of the barb into a port. To the barb, connect 1/4” micro tubing and lay the micro tubing to the plant area.
- An additional option is available when 1/4” micro tubing is used: To the end of the micro tubing, insert a 1/4″ barb (model H80 not included in the kit) and connect a maximum length of four to six feet of 1/4″ drip line (model SH50 not included in the kit) or 1/4” soaker hose (model PSH50 not included in the kit) and loop it around the plant. This option will provide a larger wetted area under the plant canopy from one outlet but with less water as the flow is divided between the numbers of outlets used.
- If any of the outlets are not used, close the top of each unused drip emitter nozzle with the rubber cap included. Insert the mini disc filter and thread the cover back on, making sure that the large “O” ring is in place.
- Turn the water on and check the system, making sure that all outlets are working and the location of each outlet meets your needs and there is no leak from the 12-outlet manifold.
One of the most common installation errors is using too few, and poorly spaced, drip emitters. Often only a single emitter is placed at the base of a newly planted tree or shrub. In clay soils a single drip emitter can wet three to four feet in diameter; on sandy soils, however, the same layout using the same drip emitter will only wet an area less than one foot in diameter. Because plant roots can grow a few feet a year depending on the plant and location, after one year the diameter of the root system might exceed the diameter of the watered area. A single emitter per tree or shrub could therefore restrict root development as early as the first year after planting. For this reason, it is especially important to place additional drip emitters around each plant, early in the plant’s life.
Note: To expand the system we highly recommend continuing with the same model kit or products. Review the instruction manual included with the kit for complete details.