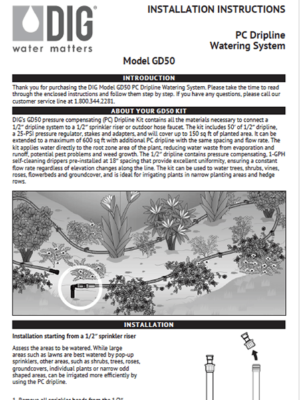
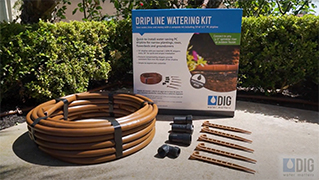
GD50 PC Dripline Watering Kit
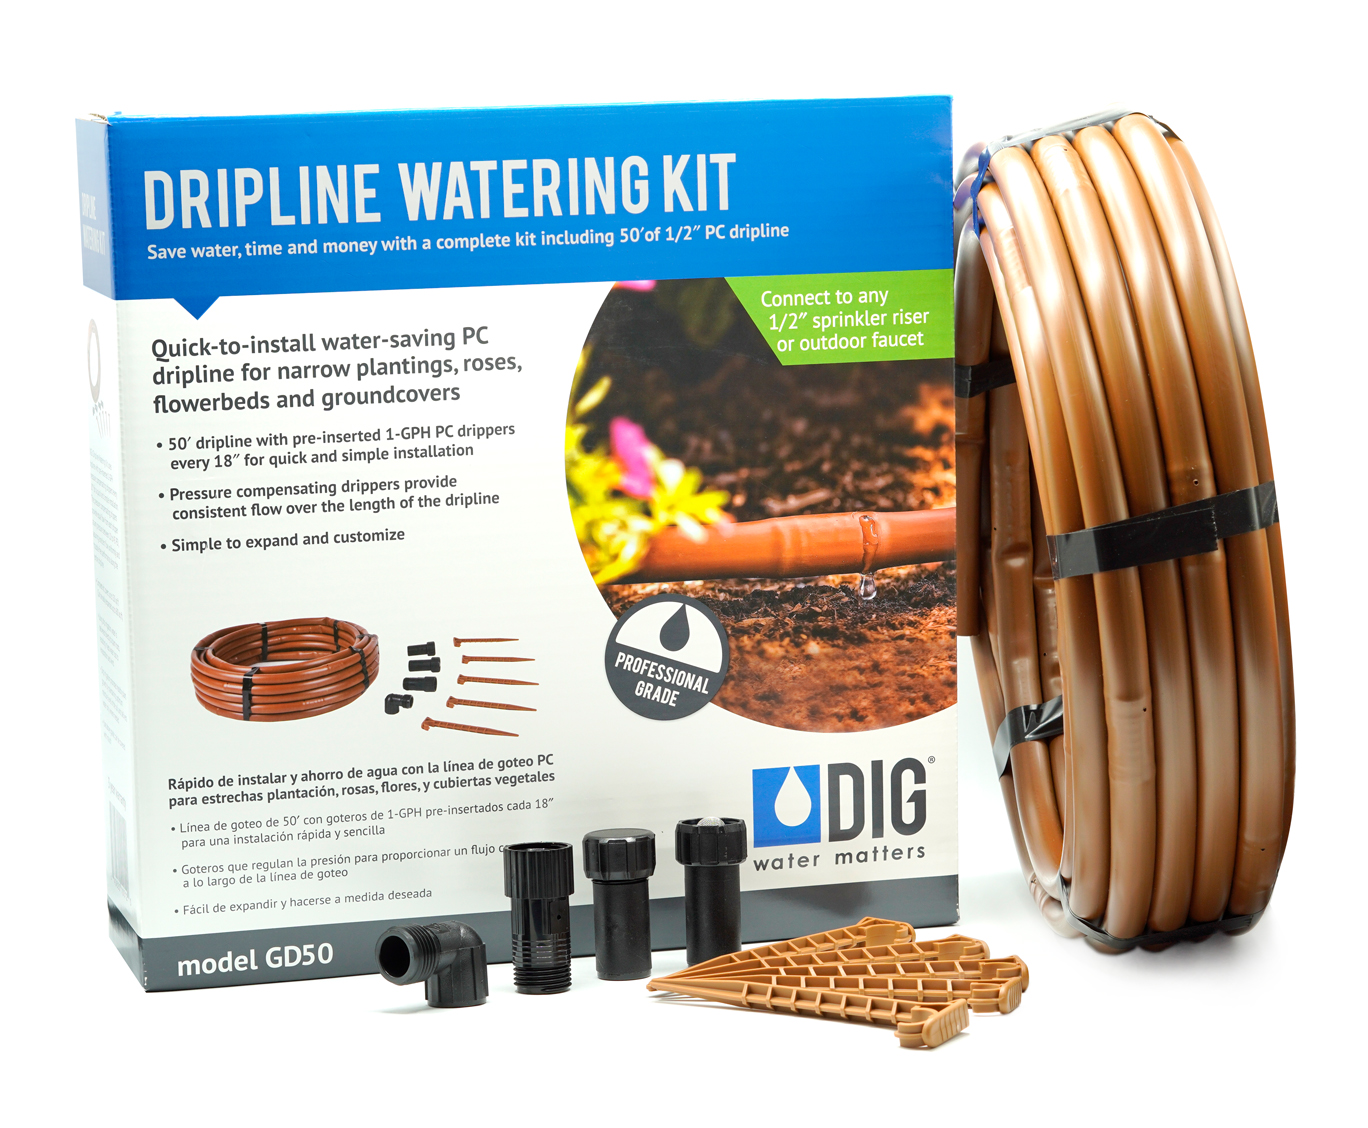

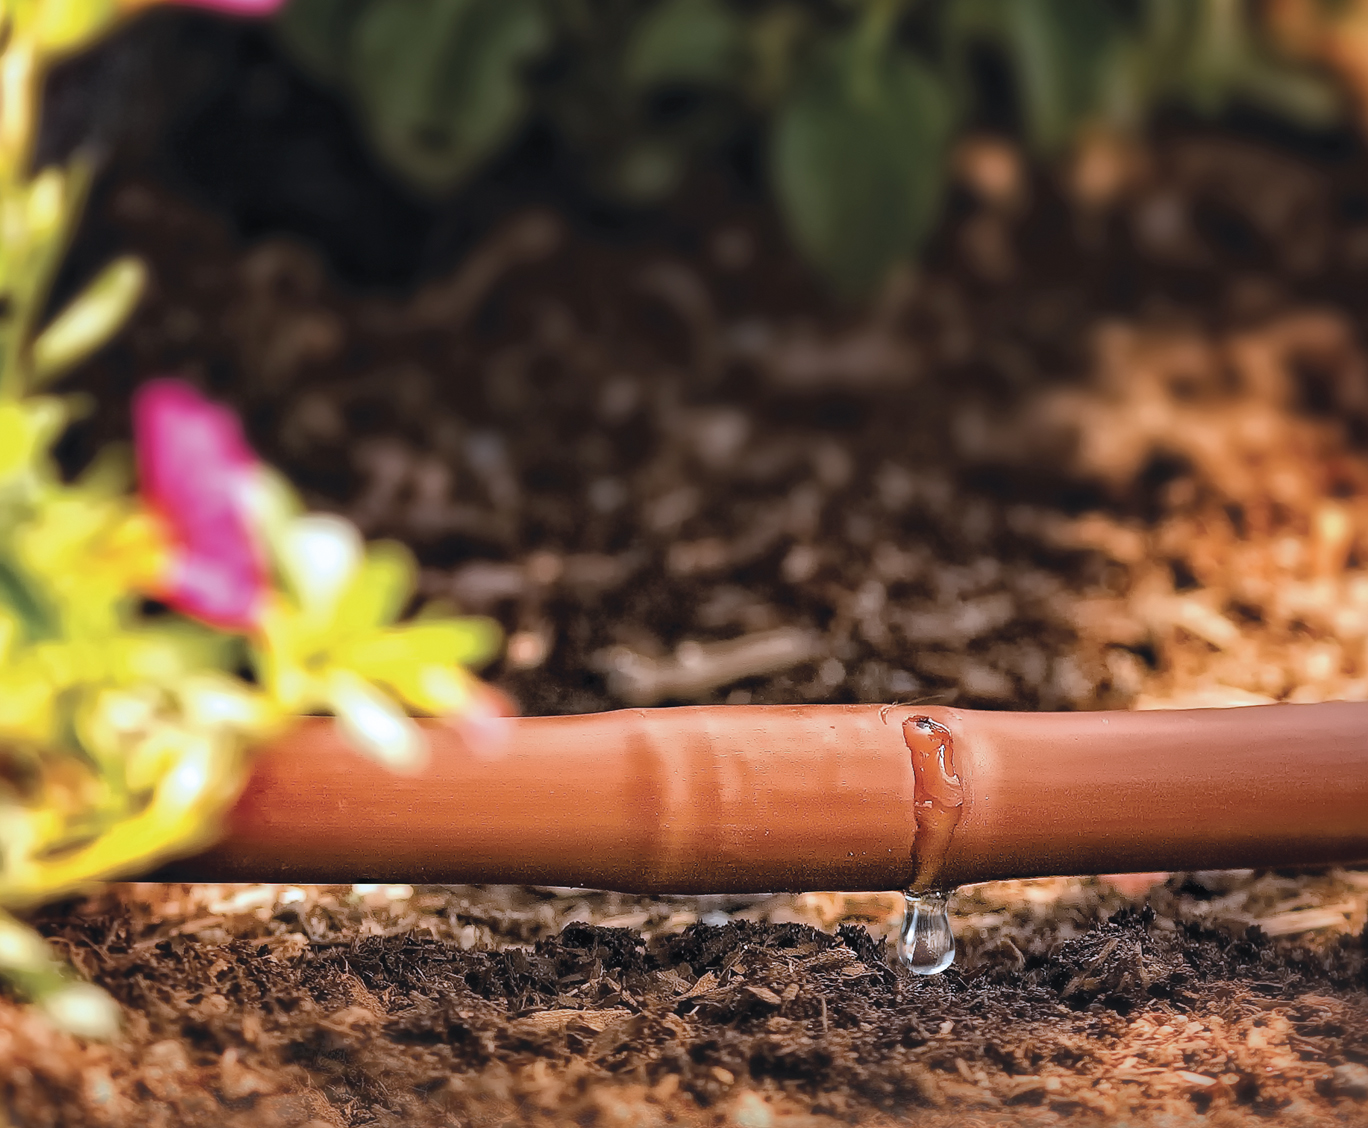
DIG GD50 Dripline Watering Kit is one of the easiest drip irrigation systems to install. Simply lay out the dripline and connect it to your water source. The dripline kit includes 50′ of dripline with sophisticated cylindrical pre-inserted 1 GPH pressure compensating (PC) drippers every 18″ for quick and easy installation, starting it from a 1/2″ sprinkler riser. The drip kit is ideal for narrow plantings, roses, flowerbeds and groundcover. Each dripper is pressure compensating between 10 and 45 PSI, assuring excellent flow uniformity and providing a consistent flow throughout the length of the line.
Features
- Complete kit; covers up to 150 sq ft (can be easily expanded up to 600 sq ft)
- Using drip irrigation, water is delivered directly to plant roots, resulting in less water loss to evaporation and wind
- Drip irrigation promotes healthy plant growth by maintaining optimum moisture levels in the soil and delivers water only where needed
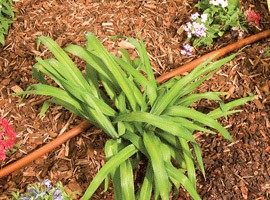
- Used above grade and can be covered with mulch
- Pressure compensating drippers provide consistent flow over the length of the dripline
- Easily expanded and customized
- Can be used around building foundations to maintain moisture in heavy soils and prevent slab damage
- Can be connected into a 1/2″ sprinkler riser or faucet
- Offers flexibility in irrigation frequency and minimizes soil erosion and surface runoff
How to Order
| MODEL | DESCRIPTION | COLOR |
|---|---|---|
| GD50 | PC Dripline Watering Kit |
Specifications
- Maximum incoming operating pressure: 100 PSI
- Operating pressure 10-45 PSI
- Dripper flow rate: 1 GPH
- Average flow rate: .56 GPM (33.3 GPH)
- Number of inline drippers per 50': 33
- Preset pressure: 25 PSI
- Kit can be extended a maximum of 600' with additional PC dripline with same spacing and flow rate
Maximum recommended length of single lateral PC drip line
| Operating pressure in PSI | 15 | 25 | 30 | 35 | 40 | 45 |
|---|---|---|---|---|---|---|
| Drip emitters spacing | 18" | 18" | 18" | 18" | 18" | 18" |
| Drip emitter flow rate in GPH | 1 | 1 | 1 | 1 | 1 | 1 |
| Maximum Length in feet | 171 | 273 | 303 | 327 | 348 | 369 |
| Flow rate in GPM | 1.90 | 3.03 | 3.37 | 3.63 | 3.87 | 4.10 |
| Flow rate in GPH | 114 | 182 | 202 | 218 | 232 | 246 |
| # of drip emitters | 114 | 182 | 202 | 218 | 232 | 246 |
| Velocity (f/s) | 1.58 | 3.44 | 3.83 | 4.12 | 4.39 | 4.65 |
| Head loss in PSI | 4.91 | 15.1 | 19.73 | 23.97 | 28.28 | 32.89 |
Box Contents
| qty | description |
|---|---|
| 1 | 3/4" MHT x 1/2" FPT riser adapter (model # Q59) |
| 1 | 3/4" FHT x MHT 25 PSI pressure regulator (model # D46) |
| 1 | 3/4" FHT swivel adapter with 60-mesh screen washer (model # C34) |
| 1 | 50' of 1/2" dripline with 1 GPH PC drippers every 18" (available in 100', model # B18100) |
| 5 | tubing holder stakes (available in pack of 10, Model # R64B) |
| 1 | 1/2" hose end cap (Model # Q58) |
| 1 | instruction manual |
Manuals
 English
 Videos
-
GD50 Dripline Watering Kit
About
The GD50 pressure compensating (PC) Dripline Kit contains all the parts needed to retrofit a 1/2″ sprinkler riser into a drip irrigation system covering up to 150 sq ft of planted area. It can be extended to a maximum of 600′ with additional PC dripline with the same spacing and flow rate. The kit can be used to apply water directly to the root zone area of the plant, reducing water waste from evaporation and run off, pest problems and weed growth. It contains pressure compensating, self-cleaning drippers, ensuring a constant flow rate from each dripper at 10 to 45 PSI, regardless of any elevation along the line. The PC dripline can be used to irrigate individual plants or closely spaced groups of plants within the layout. This kit can be connected to a garden hose and contains all the parts required to install a complete system. It can be installed as a stand-alone system starting from a 1/2″ sprinkler riser or standard outdoor faucet. The dripline kit can be used to water trees, shrubs, vines, roses, flowerbeds, groundcover and narrow planting areas. It can also be installed next to foundations to prevent slab damage. Follow the steps suggested below to install an efficient drip irrigation system.
Installation Steps
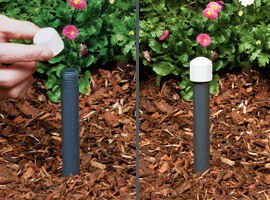 If retrofitting a sprinkler section to drip, remove the sprinklers and cap all sprinkler risers not being used.
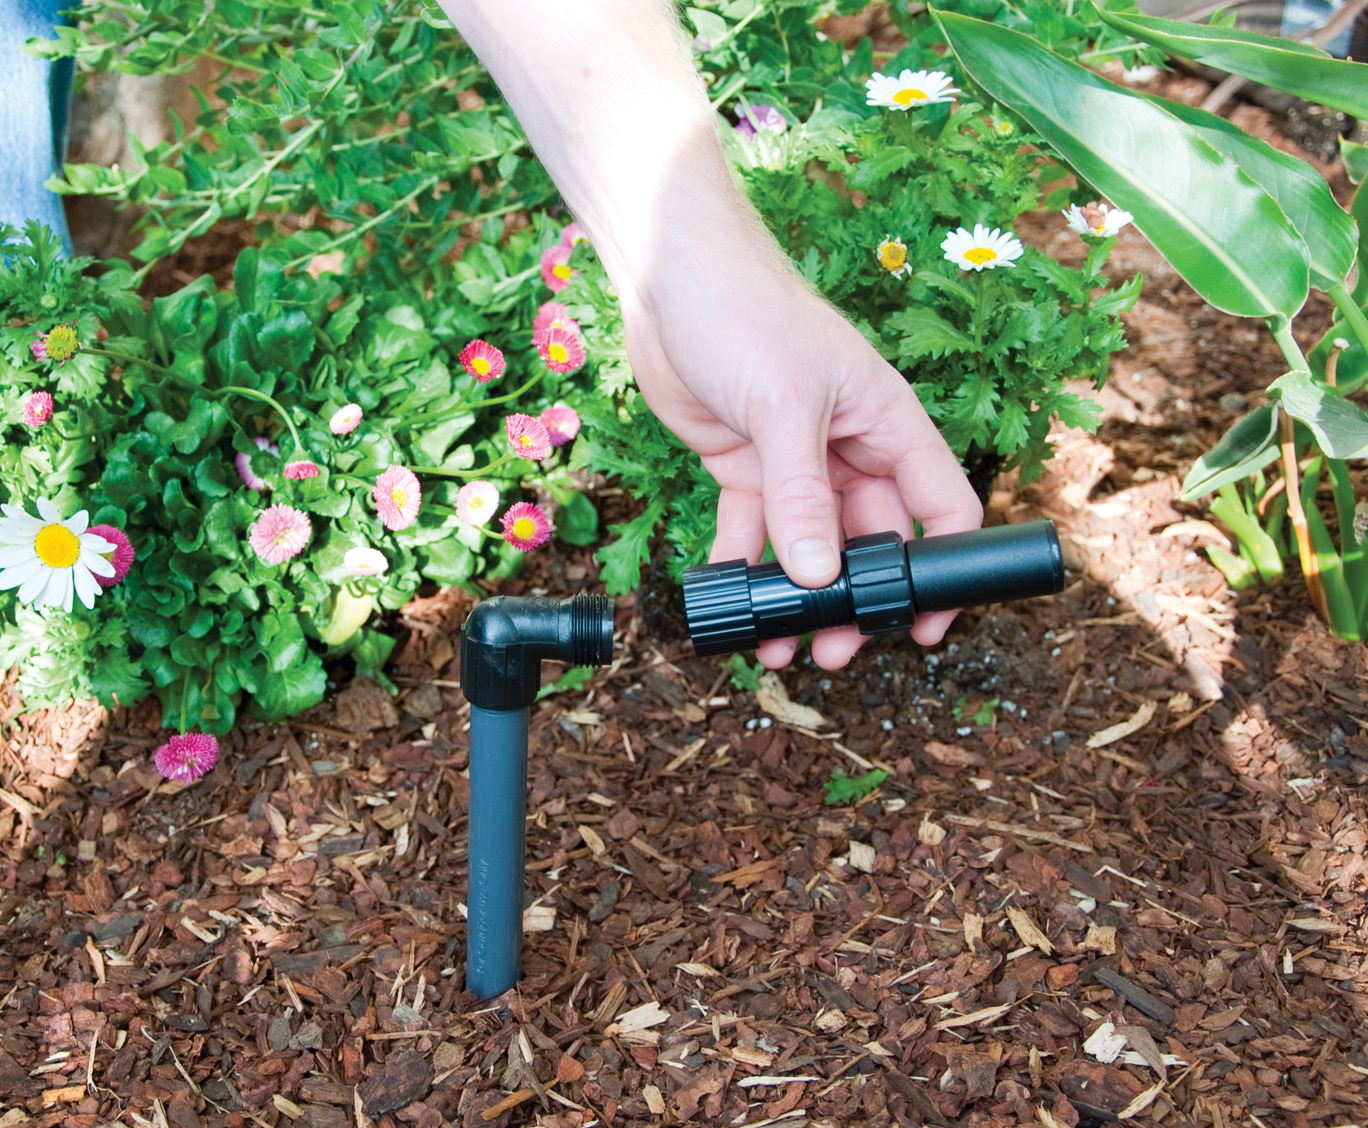
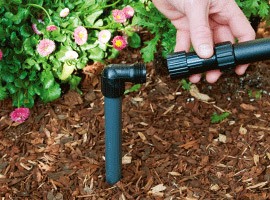 Thread the 1/2″ conversion elbow adapter into the riser and then connect the pressure regulator and swivel adapter.
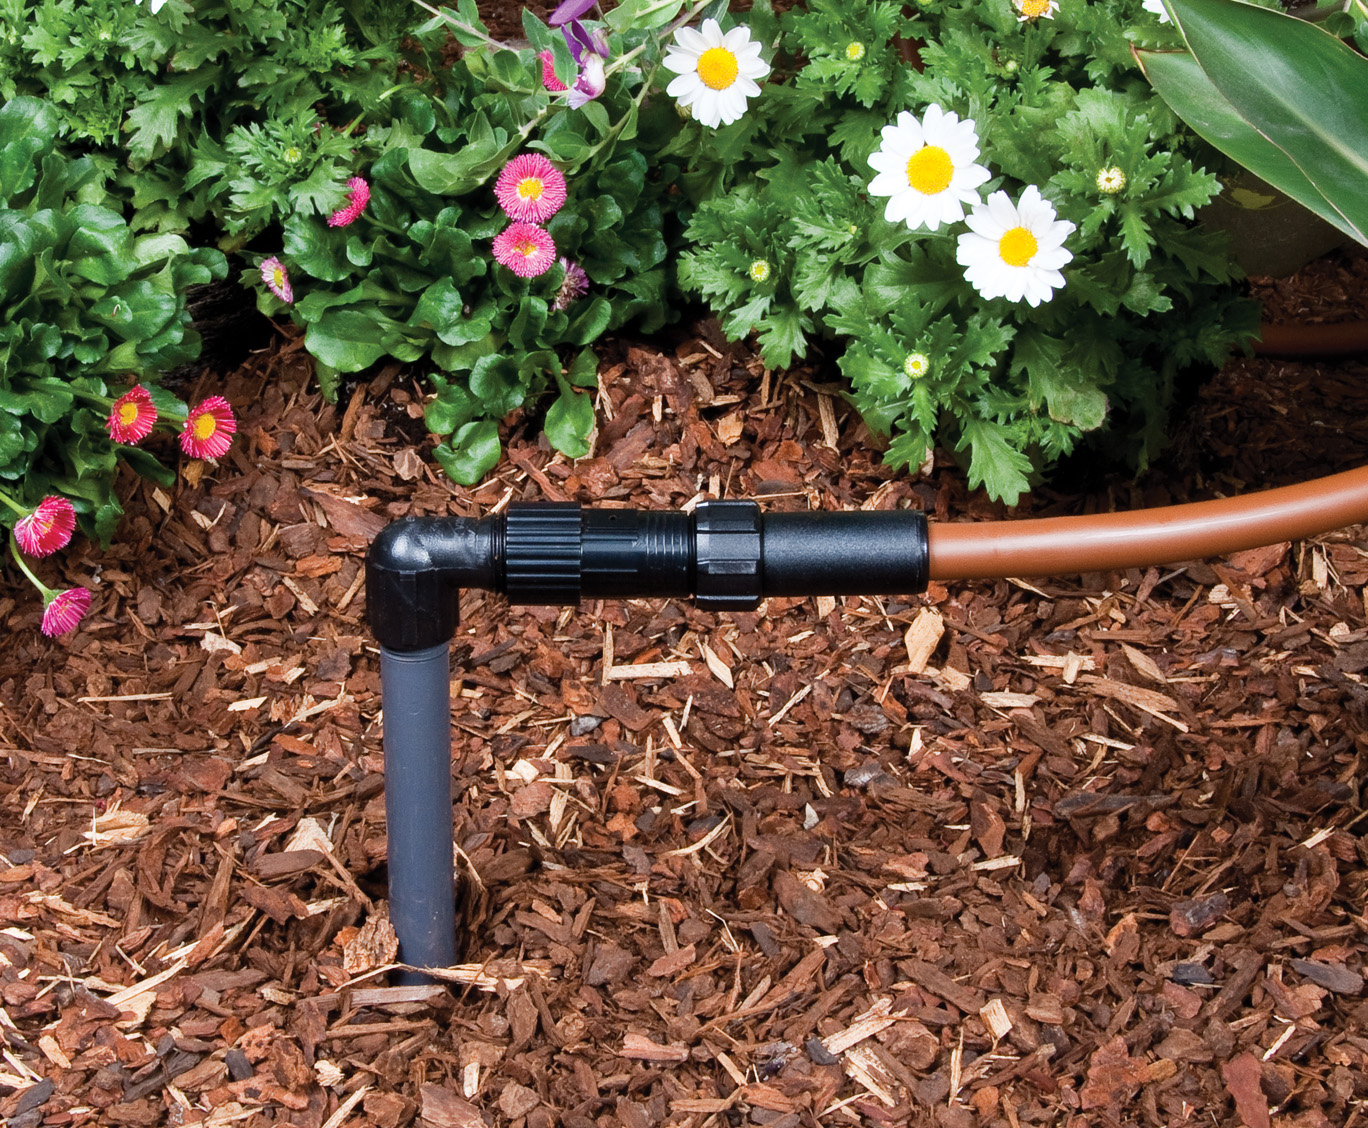
 Connect the dripline to the swivel adapter by forcing the end of the dripline into the adapter’s compression side while moving it from side to side, and then lay out the dripline along the plant area.
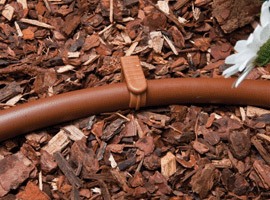 Secure the dripline to the ground by installing the dripline holder stakes every 6′ to 12′.
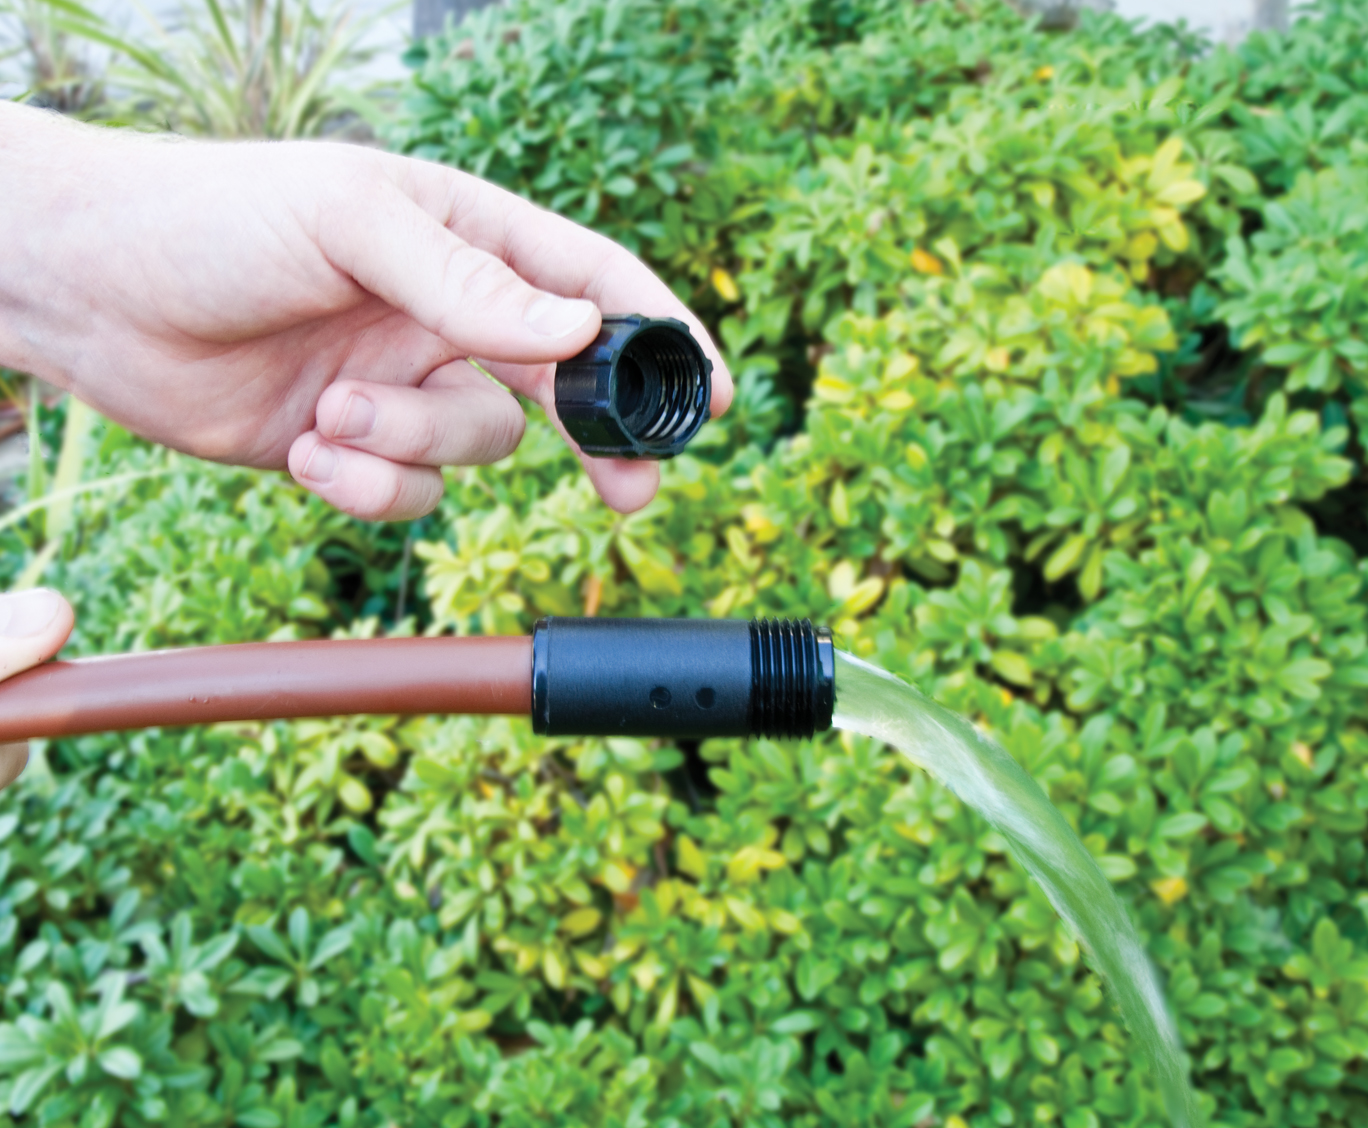
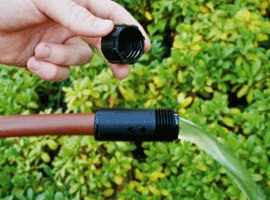 Secure the end of the dripline into the hose end by forcing the end of the dripline into the hose end’s compression side by moving it from side to side. Remove the 3/4″ cap, turn the water on and flush the line thoroughly. Turn the water off and close the end cap.
 Open the system valve, pressurize the line, and check the system to identify leaks at all connections.
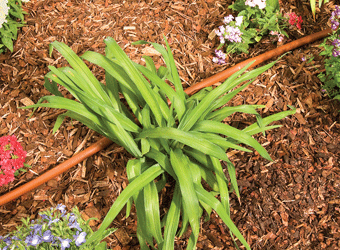
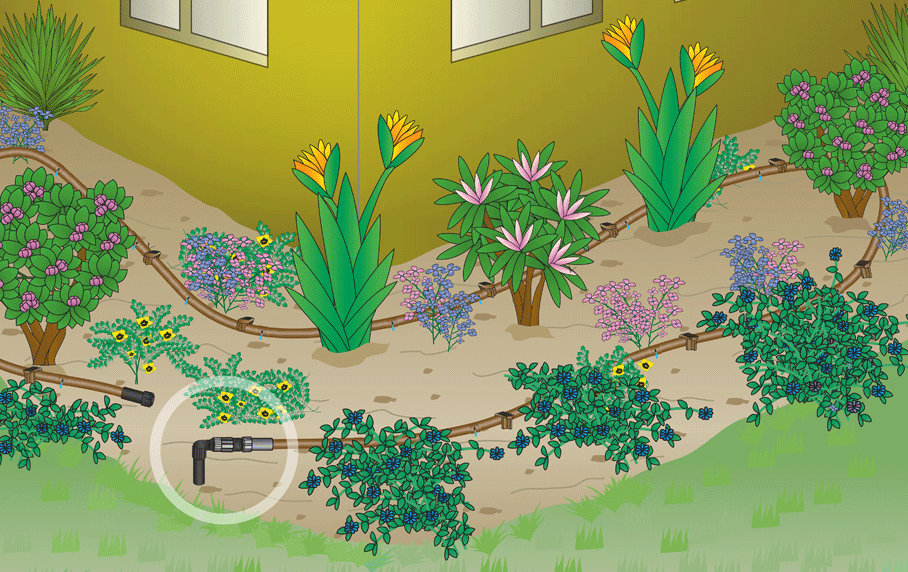
Example layout:
Detailed Installation Steps:
Assess the areas to be watered. While large areas such as lawns are best watered by pop-up sprinklers, other areas, such as shrubs, trees, roses, groundcovers, individual plants or narrow odd shaped areas, can be irrigated more efficiently by using the PC dripline.
- Remove all sprinkler heads from the 1/2″ risers and cap all sprinkler risers not being used.
- Turn the water on momentarily and flush out the sprinkler riser used. Next, thread the 1/2″ conversion elbow adapter on to the riser and then connect the pressure regulator and swivel adapter.
*Note: The PC dripline can also be connected into a faucet by attaching the swivel adapter into the pressure regulator and threading the pressure regulator into the faucet. - Connect the PC dripline into the swivel adapter by forcing the end of the dripline into the adapter’s compression side while moving it from side to side, and then secure the dripline to the ground by installing the dripline holder stakes every 6′ to 12′.
- Turn the water on and flush the line thoroughly. Turn the water off and close the end of the line with the hose end connector.
- Pressure-test the system to identify leaks in all connections.
- Open the system valve and make sure that the PC dripline provides the desired coverage, and if necessary, move the dripline closer to the plants.
Watering
Open the system valve for 45 minutes to 1 hour every two to three days, depending on your location, weather and soil type. Faster draining, lighter soils will need to be irrigated more frequently than heavy soils with high clay content. After a week or two, check the soil and the health of the plants, and adjust the watering schedule as needed. If you have an irrigation controller and additional time is required, adjust the irrigation controller program with longer watering duration and/or additional start times.