Winterizing Your Irrigation System
by Stuart Spaulding,
CLIA Certified Landscape Irrigation Auditor Training & Communications Manager at DIG Corp.
Step 1: When freezing weather is anticipated, simply turn off your main water supply to the irrigation system and make sure that the backflow device, valves, filter, pressure regulator, pipe, sprinklers, drip hose, and drippers are free of water.
Step 2: After the main water supply is shut down, run the timer/ controller through its normal watering cycle. This will allow each of the valves to open and relieve water pressure on the main line and valves. Allow the lines to drain slightly. After the timer/controller runs through its cycles, turn the controller off, or to Rain Off position.
Step 3: Through the height of winter leave the system off and drained. Water your plants with hose only. In most cases, there is enough moisture in the ground from rain to sustain the plants during the extreme winter months.
The parts of the irrigation system that need to be drained:
Draining the main line: Some irrigation systems have manual drain valves or automatic spring-loaded drain valves at the end system that may not be installed properly and sometime will not guarantee that the main line will be thoroughly drained. Other probabilities are that the ground may not be flat or the drain valve may not be at the lowest point of the system. If the main line is installed below the ground, the only way to make sure that the system is drain is to use air pressure to flush the system.
Valve assemblies such as battery operated controllers or AC valves with filter and pressure regulator: If the entire assembly can be easily removed from the pipe, it may be simple to store the assembly unit from the controller to the pressure regulator inside for the winter. If removing the filter assembly or valve assembly is not practical, the valve bonnet should be loosened or removed to make sure that the water from the top of the diaphragm and the filter cap should be drain
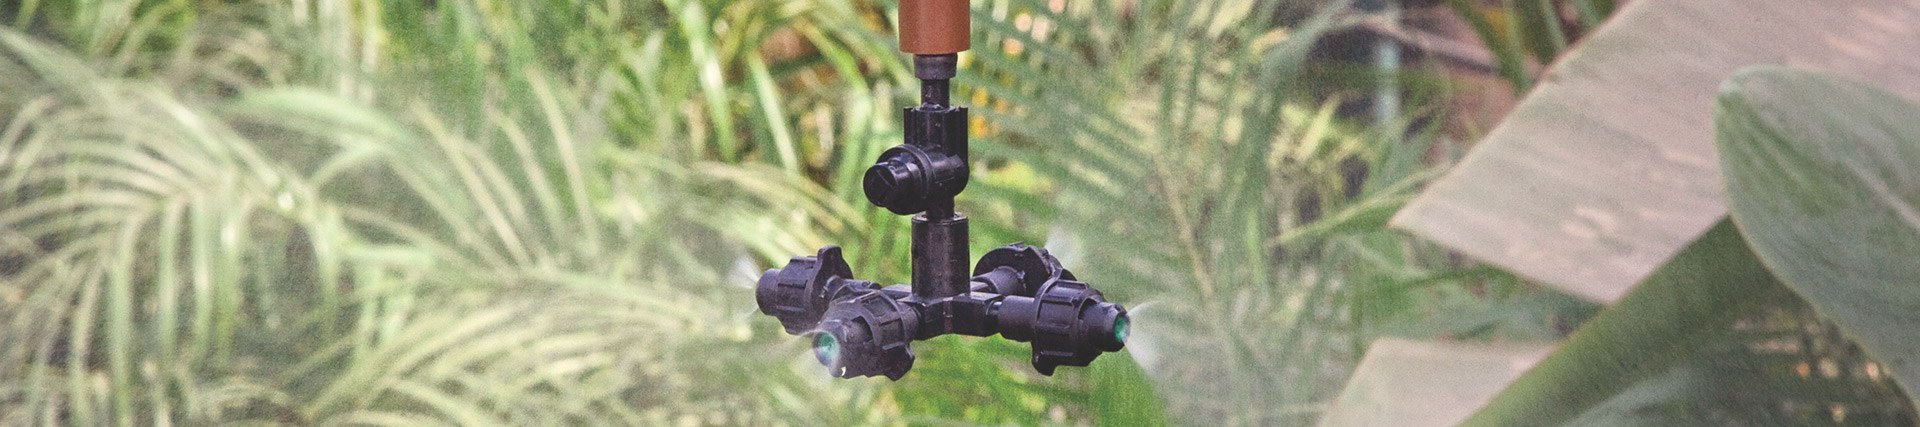
Drip tubing and micro tubing
First disconnect the drip tubing with the swivel adaptor from the filter assembly and make sure to wrap the swivel adapter or the connection to the filter assembly with a plastic bag to prevent dirt and contaminates from entering the drip tubing. If the drip tubing is installed above the ground, open all the ends of the drip tubing and allow the water to drain. Then lift the drip hose from the connection of the filter assembly, a few feet at a time and section-by-section, making sure that any water left in the drip tubing or micro tubing will drain out. After you finish draining the drip tubing and the micro tubing, make sure to close the ends of the drip tubing using the hose ends.
Drip Irrigation Maintenance
* Inspect drippers, micro sprinklers and micro tubing periodically to insure that no drippers are clogged, or that any of the micro tubing is out of place.
* Filter screens should be flushed and cleaned at least once a month depending on water quality. Checking the filter one week after installation should give you an idea on how often to schedule cleaning.
* Drip tubing should also be flushed periodically; again, water quality will determine the frequency of flushing.
* During freezing weather, we recommend draining your poly tubing or rolling it up and storing it.
* During freezing weather, we recommend removing the battery-operated controller if installed for the season and storing it indoors.
* Remove end caps or open hose ends to flush the line once a year.
* As your landscape matures, you may need to add, change or remove drippers or micro sprinklers.